Conference Room Installation Guide For Seamless AV And Furniture Integration
Conference rooms succeed when furniture, power, data, and audiovisual systems are installed as one plan. This guide shows how Vector Installations builds conference rooms that are comfortable, reliable, and ready for day one meetings.
What success looks like
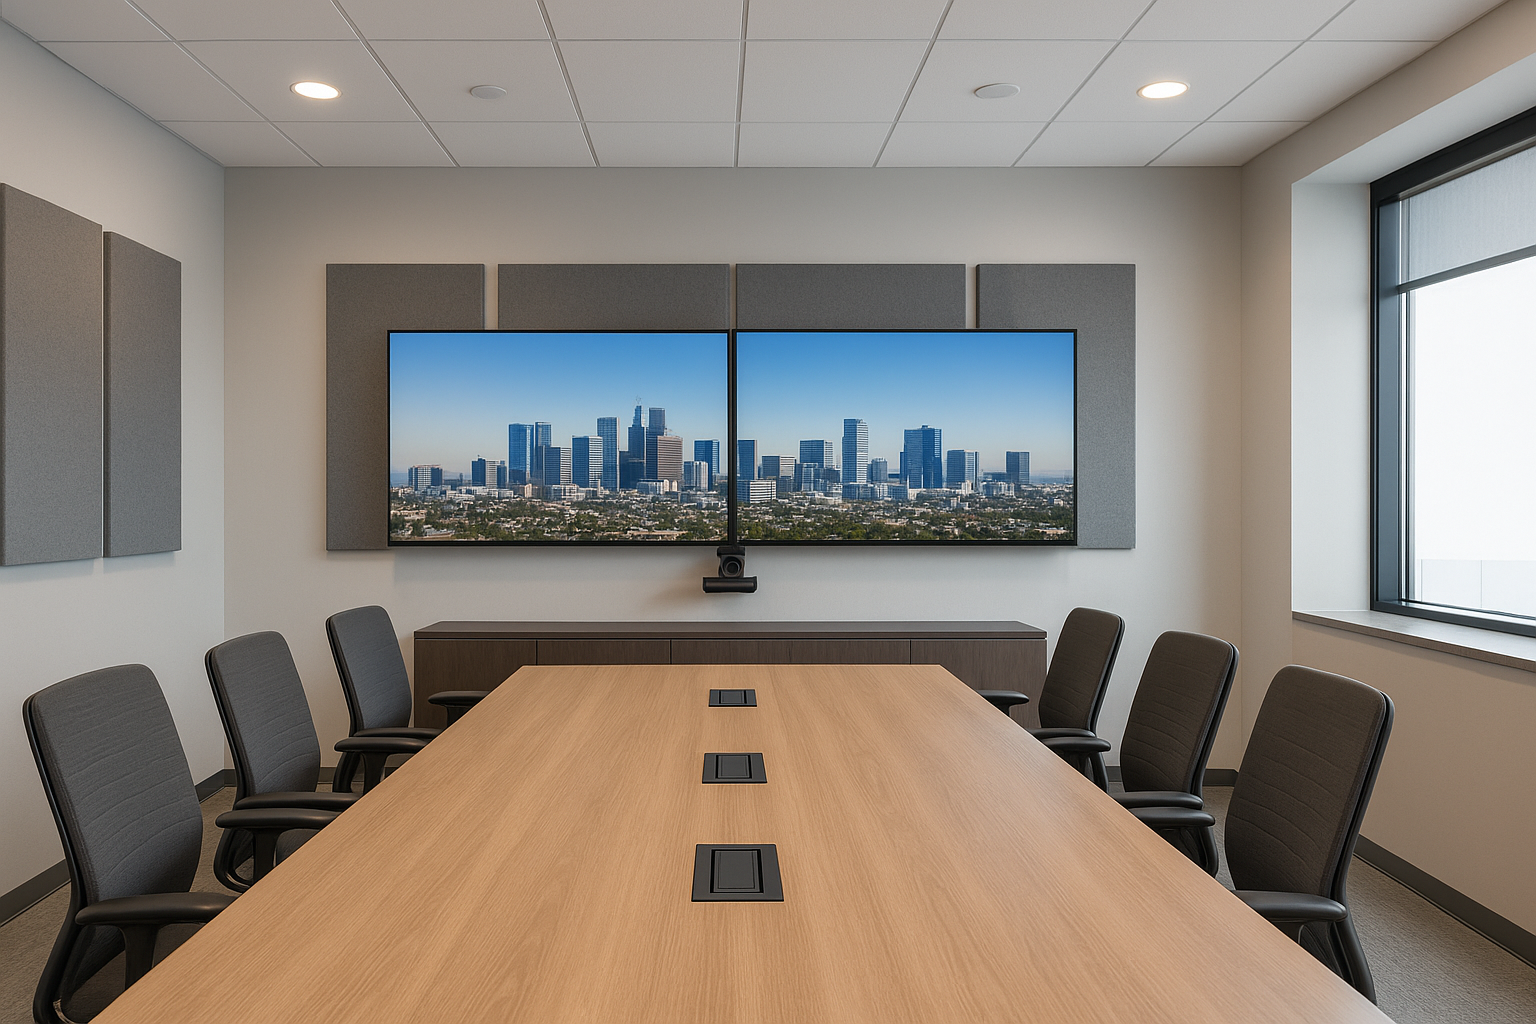
A finished room should be quiet, ergonomic, and simple to use. Chairs glide without hitting table legs. Cables are hidden and labeled. The display wakes up, the camera finds faces, and the first call connects without help from IT. Every step below serves that outcome.
Pre-installation survey
Walk the space and collect these details before ordering hardware or cutting holes.
-
Room dimensions and ceiling height
-
Wall types and stud layout for safe mounting
-
Power and data locations including floor cores
-
Lighting control and window glare
-
Platform choice such as Zoom, Teams, or BYOD
-
Headcount and preferred table shape
-
ADA clearances at doors, aisles, and seats
Create a simple room drawing with final dimensions and mark every outlet, plate, and mount. Share it with facilities, IT, and the AV provider so everyone builds from the same map.
Furniture first planning
Choose a table that fits headcount with a minimum of 30 inches per seated user and 48 inch aisles where people pass. Decide early between boat, rectangle, or U shape because mic arrays and camera placement depend on sightlines. Specify grommet locations so power and data land exactly where devices sit. If you are using height adjustable tables for flexible spaces, confirm cable slack and strain relief during motion.
Power and data layout
Plan one dedicated circuit for the display and another for table power where possible. Use surge protection rated for AV. Pull at least two data drops to the display wall and two to the table so you have a spare. Place floor boxes under the table ends to keep cable runs short and hidden. Label every run at both ends before closing walls or flooring.
Display mounting that holds up
Find studs or use rated anchors for the wall type. Mount the center of the screen at roughly 42 to 48 inches to the bottom edge for typical seated rooms, and higher for large spaces. Keep the screen perpendicular to the table centerline to avoid off axis glare. If you plan a dual display, leave at least 4 inches between panels for heat and cable service.
Camera and microphone placement
The camera belongs near eye level and centered on the table, not up at the ceiling. Place mics to cover all seats without being blocked by monitors. For small rooms, a single soundbar with integrated mic array is often best. For medium rooms, ceiling mics or two table mics work well. Avoid table edges that collect laptop bumps and coffee spills.
Cable management and concealment
Use under table trays and flexible raceways to keep paths tidy. Tie cables in gentle loops. Separate data from AC power where you can. Leave a small service loop at devices so gear can be pulled for maintenance. Cover any floor crossings with low profile ramps and secure them so chair casters do not lift edges.
Control that anyone can use
A simple control pad or touch panel should do four things with one tap. Start a meeting, select a source, adjust volume, and share content. Keep labels plain language. Provide a small printed quick start card that matches the buttons on the panel.
Acoustic and lighting checks
Add soft finishes where practical, such as a rug under the table or acoustic panels on the back wall. Avoid direct downlights on the screen and use indirect or dimmable lighting for faces. If windows create glare, add shades or film. These small changes improve camera image and speech clarity.
Testing and commissioning
Run this checklist before the handoff.
-
Power on all devices and update firmware
-
Place a call to verify camera aim, mic pickup, and speaker output
-
Share content from HDMI and wireless casting
-
Confirm volume limits and mute behavior
-
Test room occupancy sensor or scheduling panel if installed
-
Verify cable labels and leave a diagram in the credenza
Deliver a one page room map showing device placement, cable paths, IPs if assigned, and a contact for service.
Safety and standards
Anchor every mount and cabinet to the correct substrate with rated hardware. Leave clear egress paths and maintain ADA turns by the door. For general guidance on audiovisual performance standards, see the AVIXA Standards Overview.
Common pitfalls and simple fixes
Table power too far from seats
Place grommets within easy reach and route cords through trays so users do not stretch cables across the surface.
Camera placed too high
Move the camera closer to eye level and center it on the table. Re run auto framing after adjustment.
Visible cable clutter
Install a larger tray and bundle cables by function. Replace short adapters with proper length leads.
Echo and harsh light
Add two acoustic panels and dim forward cans during calls. Use shades to cut window glare.
Why Vector Installations
We install furniture and AV as a single plan. Our crews protect finishes, pull clean cable paths, and mount to spec so the room looks sharp and works the first time. You get clear schedules, daily updates with photos, and a tidy handoff with a one page quick start.
Ready to Simplify Your Office Installation Work?
Contact Vector Installations today for a free consultation!
Visit us at Vector Installations for helpful resources and to learn more about our services.